
In the world of data visualization and reporting, keeping track of the last time your data was refreshed is crucial for ensuring accuracy and reliability. Whether you’re using Power BI or Tableau, adding a refresh timestamp provides transparency and confidence to your audience.
This blog will guide you through step-by-step instructions for adding a refresh timestamp in both Power BI and Tableau.
Why Add a Refresh Timestamp?
- Data Transparency: Show stakeholders when the data was last updated.
- Improved Decision-Making: Ensure users rely on the most current information.
- Accountability: Make data refresh schedules clear to everyone accessing the report.
Adding a Refresh Timestamp in Power BI
Step 1: Create a Refresh Timestamp Column
- Open your Power BI report.
- Go to the Home tab and select Transform Data to open Power Query.
- Right click on left Queries panel, select Blank Query.
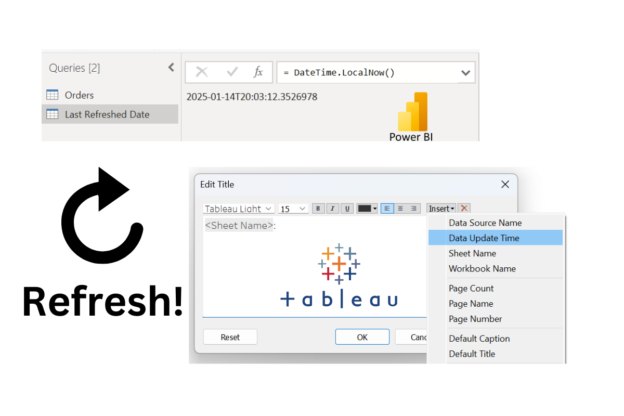
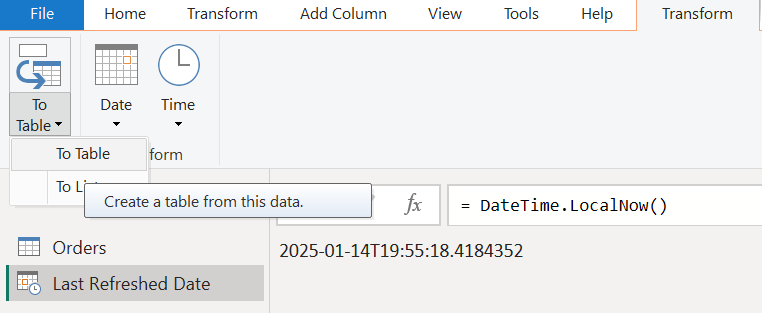
- Rename the query to Last Refreshed Date, and then enter the following formula into the function bar.
- = DateTime.LocalNow()
- To convert the date data to a table format, choose To Table > To Table. Depending on the version you’re using, you might need to Invoke parameters first.
- Click Close & Apply to save changes and return to the report view.

Step 2: Add the Timestamp to Your Report
- Go to the Fields Pane and locate the Last Refreshed Date table and column.
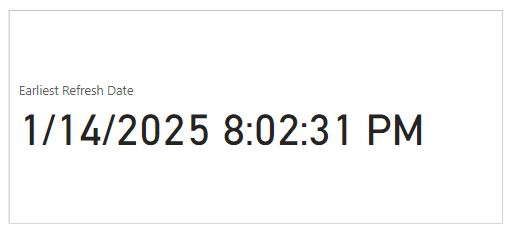
- From the Visualizations Pane, select a Card visual.
- Drag the
Refresh Datecolumn into the Fields section of the Card. - Format the Card to display the timestamp prominently.
Step 3: Automate the Data Refresh
To ensure the timestamp updates with every refresh:
- Go to the Home tab and select Schedule Refresh.
- Configure the refresh schedule for your dataset in the Power BI Service.
- Every time the data refreshes, the timestamp will also update.
Adding a Refresh Timestamp in Tableau
Tableau provides a built-in field to capture the last refresh timestamp.
Step 1: Add the Timestamp to Your Dashboard
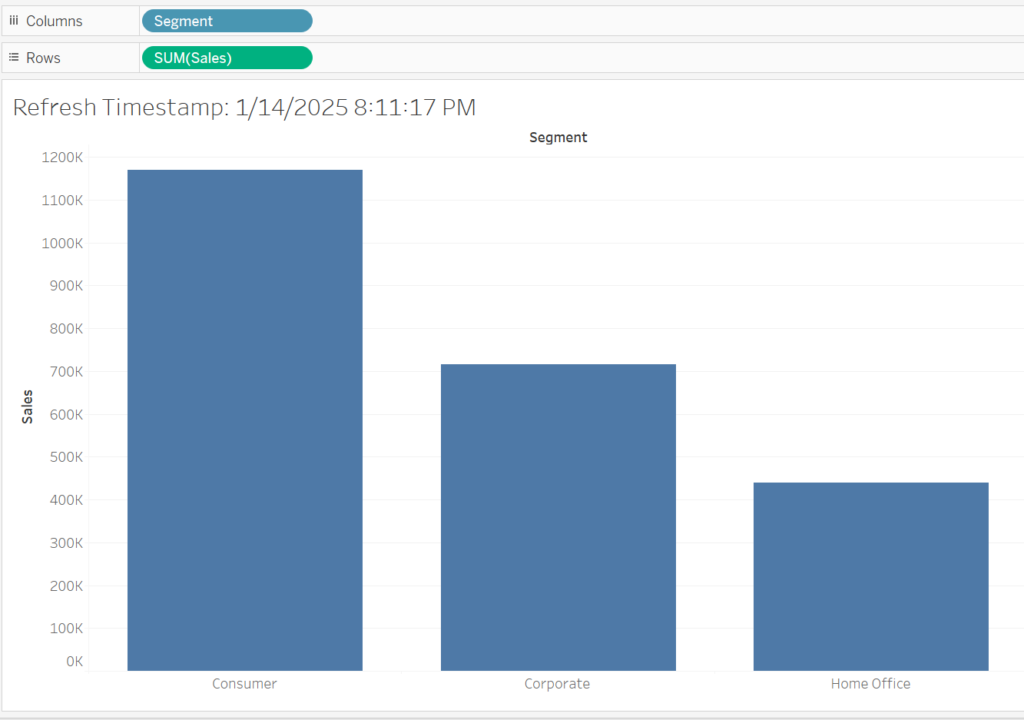
- Open your Tableau workbook that contains the dashboard in Tableau Desktop, and then navigate to the sheet for which you want to display the time of the last data refresh.
- Select Worksheet > Show Title.
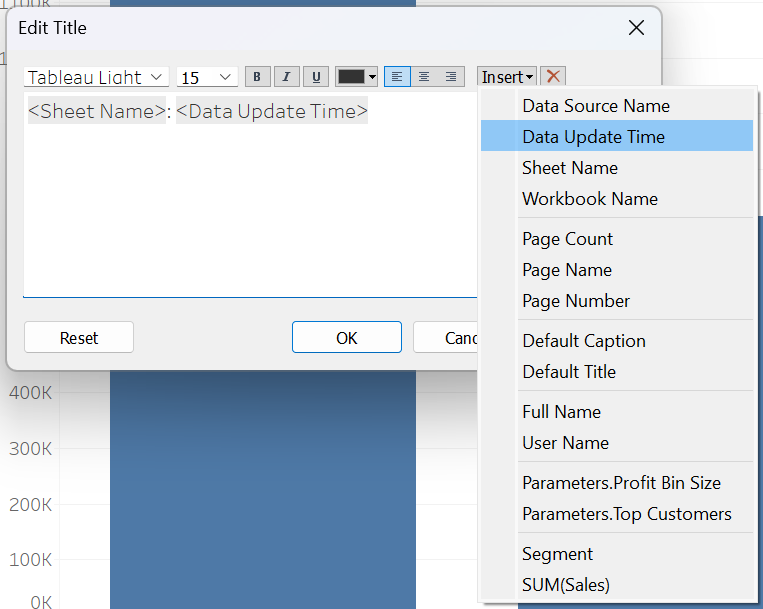
- Double-click the title.
- In the Edit Title dialog box, select Insert > Data Update Time, and then click OK.
Step 2: Automate Refresh for Live Data
- Publish your Tableau workbook to Tableau Server or Tableau Online.
- Set up a refresh schedule for your data source.
- Go to the Data Sources section in the Tableau Server interface.
- Configure a refresh schedule to ensure the timestamp updates automatically.
Comparison: Power BI vs. Tableau for Refresh Timestamps
| Feature | Power BI | Tableau |
|---|---|---|
| Ease of Implementation | Requires new query setup | Easy to implement with built-in function |
| Automation | Simple with Power BI Service | Managed via Tableau Server or Online |
| Customization Options | Card visual for display | Text boxes or titles for display |
| Real-Time Updates | Updates on refresh | Updates on refresh |
Tips for Effective Use of Refresh Timestamps
Validate Regularly: Ensure the timestamp updates correctly with your scheduled refresh.
Highlight Visibility: Position the timestamp in a prominent location on your report or dashboard.
Format for Clarity: Use a readable date and time format (e.g., MM/DD/YYYY HH:MM AM/PM).
Add Context: Include a label like “Last Refreshed On” or “Data Updated At.”